Kingdom Death's Spidicules (plastic, by Thomas David?)
When you are a painter and a gamer, you have to think practical. You need to have an easy access to the minis used in a game and you have to keep in mind that they will take a particular amount of space on your shelves (although they are called miniatures!).
When you look at the dimensions of the Spidicules, you realize it's a monstrous piece of a monster!
So you can either rent a storage container somewhere, or try to find a cheaper and easier solution.
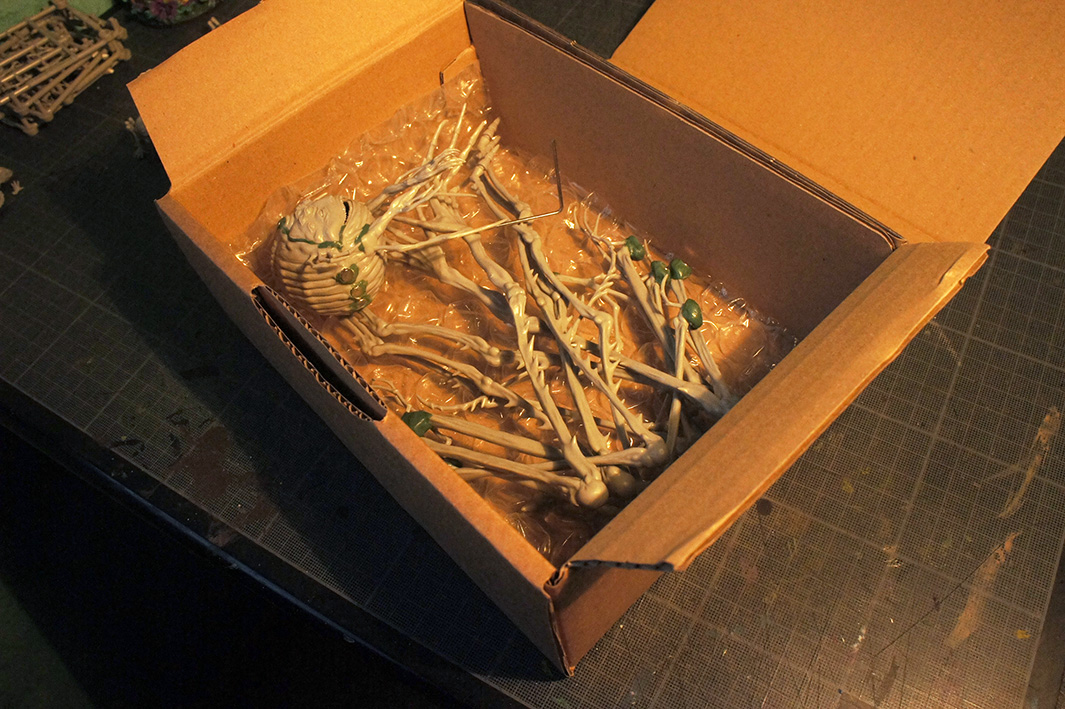
I have decided to magnetized its legs and the appendice on its head. Now I can store it in a small box and it only takes a few seconds to get ready for the game!
 |
| Spidicule + baby Spidicule (Spiderling) |
First, I built the head of the Spidicules, drilled some shallow holes
were the legs are attached, filled these with green stuff and added magnets.
Then I did the same with a smaller magnet for the head appendice. I also added some green stuff here and there to fill the joints of the different parts.
I cut some plastic parts out of the legs and used green stuff to create joints where I could add a magnet. A small metal wire is still necessary to bear the weight of the body.
And voilà!
Now let's paint that beast (Can't wait to defeat it in Kingdom Death's Monster!)
 |
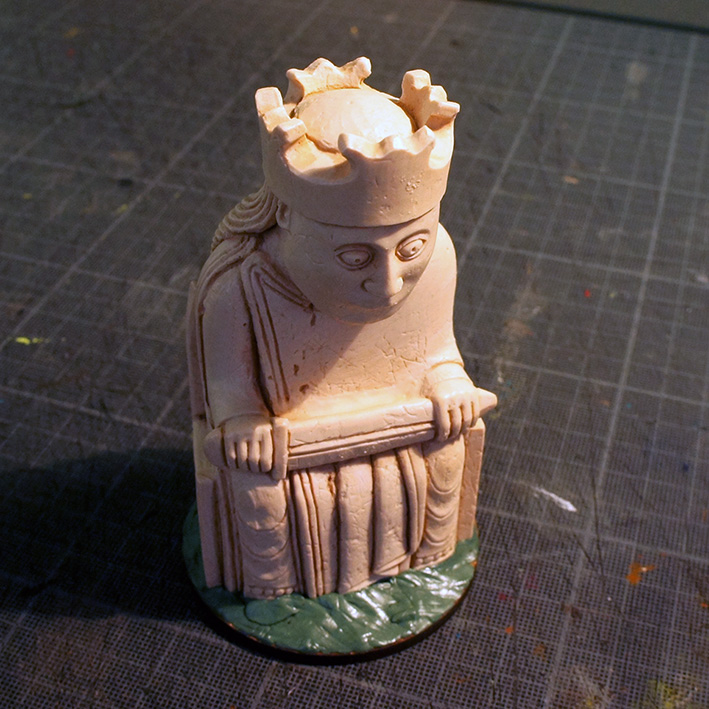
| Jack-in-the-box |
 |
| "Please let me in! You've forgotten to let me in!" |